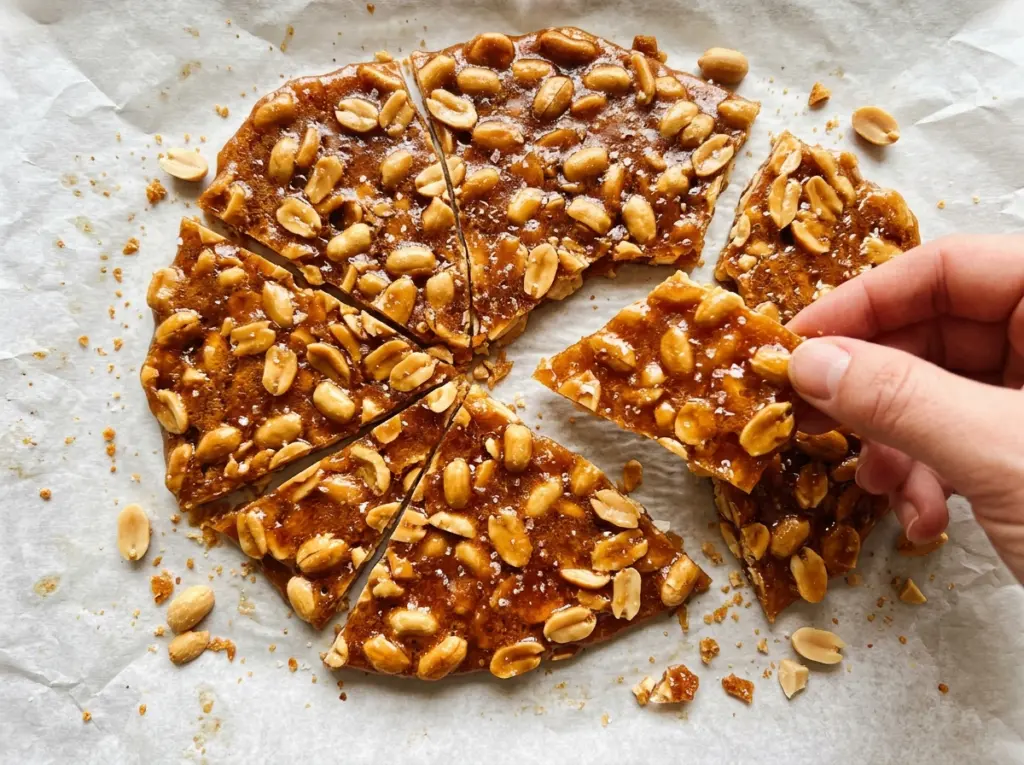
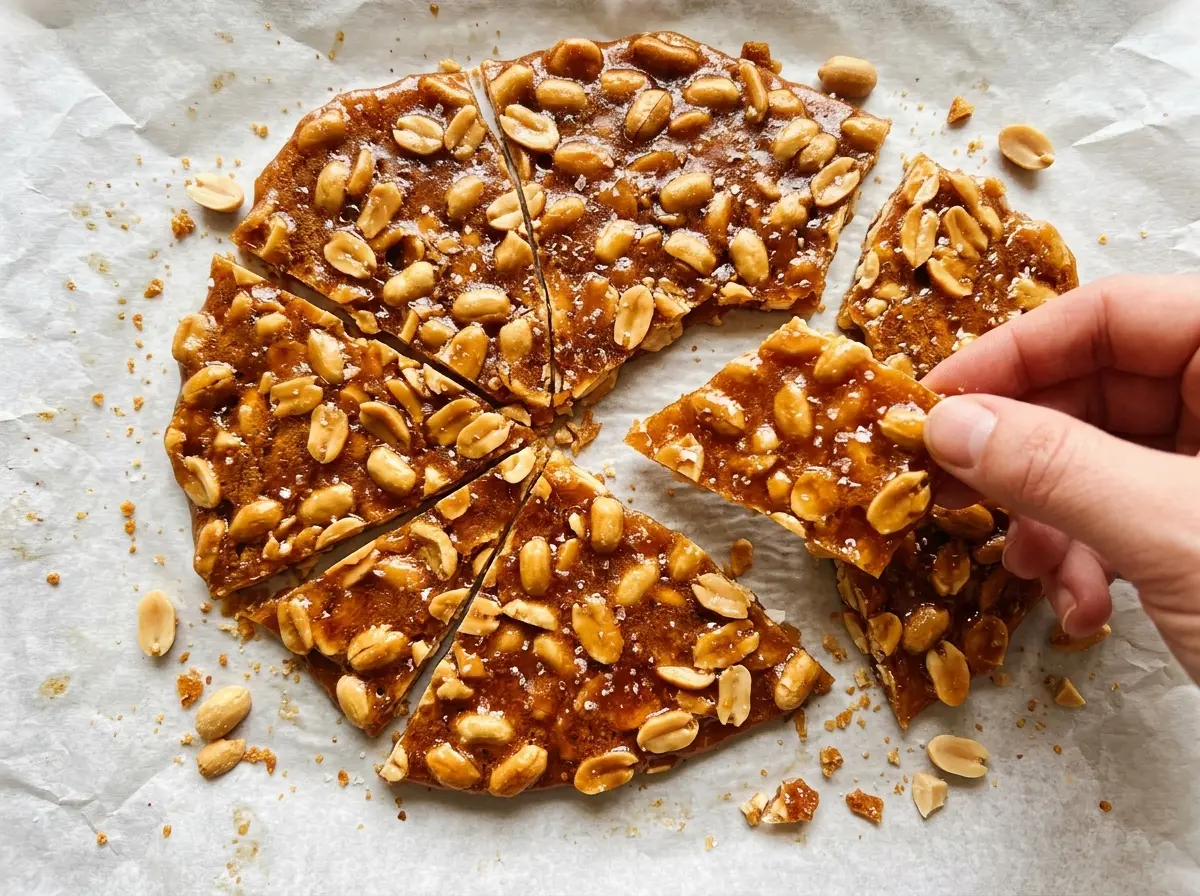
The syrup looks calm at first, then the peanuts turn it thick and the color deepens quickly as it approaches 300°F. That final stretch is where I keep my attention on the pan; peanut brittle can go from golden to too dark before you’ve finished looking for the baking sheet. Old fashioned peanut brittle is all about a clean snap and a deep caramel taste, without a chewy middle.
I like this version because its stages are easy to read: dissolve the sugar, cook the syrup to 240°F, add the raw peanuts, then bring everything to 300°F. The baking soda goes in after the pan comes off the heat, and the mixture foams as you stir. Pour it onto the buttered sheet while it’s still bubbly, spread it thin, and you’ll have crisp, glossy pieces once it cools.
Kitchen Note
Don’t wait for the foam to settle before pouring. The bubbly mixture spreads more easily while it’s freshly aerated, so tilt the sheet right away and let it form a thin layer.
Save this old fashioned peanut brittle for its crisp snap, golden caramel, and generous handfuls of peanuts.
Why This Brittle Needs Two Temperature Milestones
The first temperature is not a shortcut to the finished candy. At 240°F, the syrup is ready for the raw peanuts, but it still needs to cook further with them in the pan. Taking it off the heat at that point leaves the candy too soft; letting it continue to 300°F brings it to the crisp stage that breaks cleanly once cool.
A candy thermometer makes those milestones much easier to hit than color alone. Attach it so the sensing tip sits in the syrup without touching the saucepan’s bottom or sides; contact with the hot metal can give you a misleading reading. Check that the liquid covers the thermometer’s sensing area as the syrup level changes. The color is a useful second cue at the end: at 300°F, the mixture should be deep golden, not pale. If the thermometer and the color seem at odds, keep watching the temperature closely rather than guessing from the shade.
There’s also a reason to stir only during the first part of the syrup cook. Once the sugar has dissolved, continued stirring can encourage sugar crystals to form along the sides of the pan. Leaving the syrup alone until it reaches its first temperature keeps the texture smooth before the peanuts go in.
What the Syrup, Peanuts, and Baking Soda Each Bring
- Granulated sugar — It supplies the brittle’s caramel body and sets into a hard candy as it cools. Plain white sugar is the right choice here; brown sugar brings extra moisture and a molasses taste that changes the candy.
- Light corn syrup — It helps keep the cooked sugar smooth instead of grainy. Golden syrup can stand in volume for volume, though it gives the brittle a slightly deeper, more buttery caramel note. Honey isn’t my pick here because its flavor and browning can take the candy in a different direction.
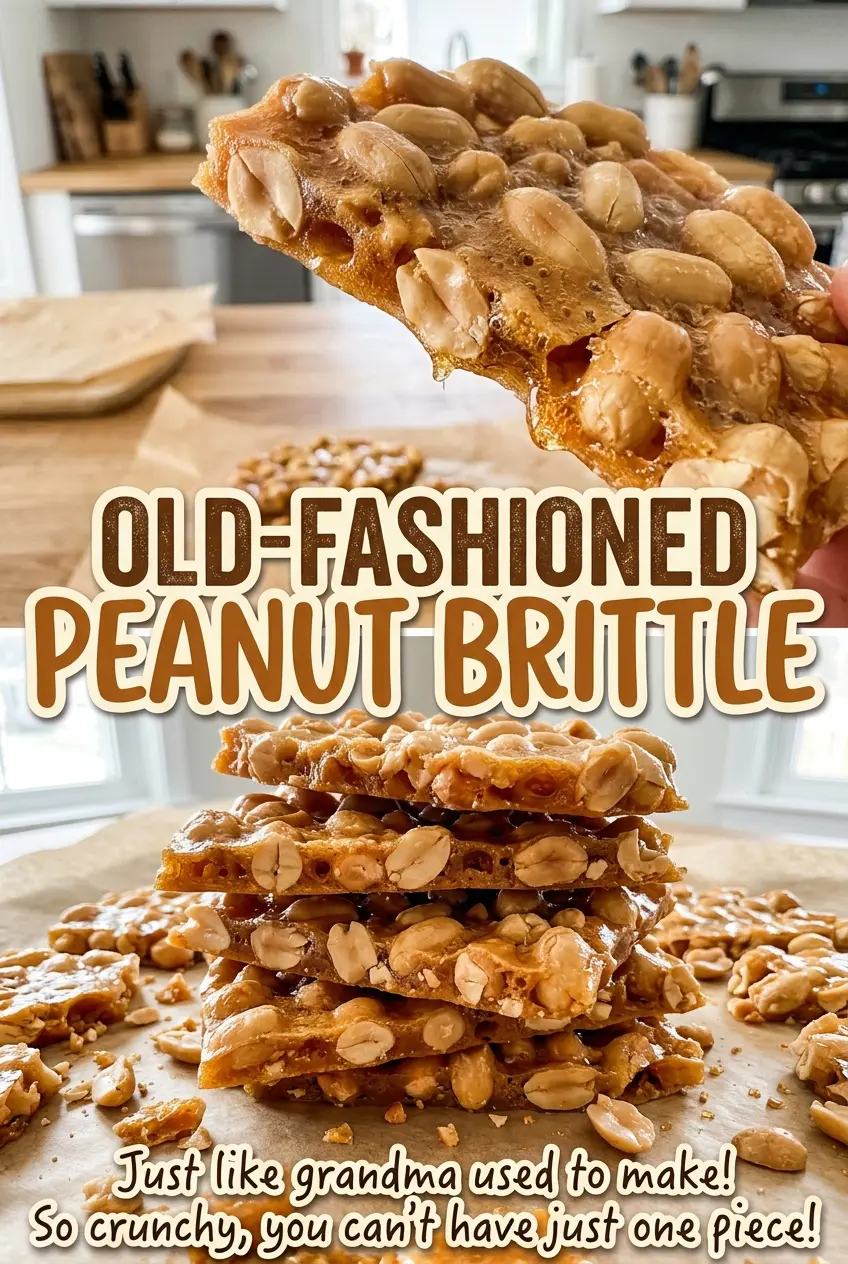
- Raw shelled peanuts — They cook in the syrup as it climbs to its final temperature, so they finish toasted rather than tasting like already-roasted nuts. Fresh peanuts matter more than a premium label; avoid stale nuts, which can bring a flat or rancid taste.
- Unsalted butter — It rounds out the caramel and helps coat the prepared baking sheet. Standard grocery-store butter works well, and unsalted butter lets the measured kosher salt stay in control. For a dairy-free version, use a firm, unsalted plant-based butter stick in both additions.
- Vanilla extract — It adds warmth to the caramel without covering up the peanuts. Use the vanilla you keep for baking; if you’re out, leave it out rather than reaching for a strongly flavored substitute.
- Baking soda — This is what gives the brittle a lighter, slightly porous bite instead of a solid slab of hard caramel. Baking powder doesn’t do the same job, so don’t swap the two.
From Dissolved Sugar to a Thin, Snappy Sheet
Butter the pan before heating the syrup
Grease a 13×18-inch rimmed baking sheet with the teaspoon of butter and set it beside the stove. Have the remaining ingredients close by, too, since the final mixing and pouring happen quickly. The rim keeps the hot candy contained as you tilt the sheet. Don’t substitute an unprepared pan at the last moment; the finished brittle needs a greased surface to release cleanly.
Cook the syrup to its first milestone
Combine the sugar, light corn syrup, water, and kosher salt in a heavy-bottomed 3-quart saucepan. Set it over medium heat and stir until the sugar dissolves, then stop stirring. Let the syrup cook until it reaches 240°F, which takes about 8–12 minutes. Keep the thermometer positioned in the liquid, not against the pan.
Cook the peanuts until deep golden
Stir in the raw peanuts and continue over medium heat, stirring frequently. The mixture will thicken as it cooks, so scrape through the syrup and lift peanuts from the bottom rather than letting them sit in one spot. Cook until the thermometer reads 300°F and the candy is deep golden, about 12–18 minutes. Stay close near the end, when the color can deepen quickly.
Foam, spread, and let the candy set
Remove the saucepan from the heat, then quickly stir in the remaining tablespoon of butter, the vanilla, and the baking soda. The mixture will foam; pour it onto the prepared sheet immediately and tilt the sheet to spread the candy into a thin layer. Set the pan down and leave the brittle undisturbed until completely cool, about 30–45 minutes. Break it into pieces once it’s fully set.
Two Easy Ways to Adapt This Peanut Brittle
Make it dairy-free with plant-based butter
Use an unsalted, firm plant-based butter stick in place of the butter, keeping the same split between greasing the sheet and stirring it into the candy. Avoid soft tub spreads, which contain more water and can make the result less predictable. The brittle will still set crisp, though the caramel may taste a little less rich.
Swap in raw almonds
Use raw shelled almonds in place of the peanuts, measuring them volume for volume. They’ll give the candy a milder, slightly different nut flavor while keeping the same crisp brittle texture. Keep the same temperature targets and watch the color as the almonds cook in the syrup.
Leave out the vanilla
If you want the caramel and peanuts to come through without vanilla, omit it and keep the rest of the method unchanged. The candy will taste more directly of cooked sugar, with no change to its set or snap.
Storage and Reheating
- Room temperature: Store completely cool pieces in an airtight container in a cool, dry spot for up to 2 weeks. Humidity can make the surface tacky.
- Refrigerator: Skip it; moisture and condensation can soften the brittle.
- Freezer: It freezes well for up to 2 months in an airtight freezer-safe container. Thaw it while still sealed so condensation forms on the container rather than the candy.
- Reheating: Not needed. Serve at room temperature; warming can soften the candy and make it sticky.
Questions That Come Up When Making Peanut Brittle
Old Fashioned Peanut Brittle
Ingredients
Equipment
Method
- Grease a 13x18-inch rimmed baking sheet with 1 teaspoon of the butter. Set it beside the stove.
- Combine the sugar, corn syrup, water, and salt in a heavy-bottomed 3-quart saucepan.
- Cook over medium heat, stirring until the sugar dissolves.
- Stop stirring and cook until the mixture reaches 240°F, about 8–12 minutes.
- Stir in the peanuts and cook over medium heat, stirring frequently, until the mixture reaches 300°F and turns a deep golden color, about 12–18 minutes.
- Remove the pan from the heat and quickly stir in the remaining 1 tablespoon butter, vanilla, and baking soda.
- Immediately pour the foaming mixture onto the prepared baking sheet and tilt the sheet to spread it into a thin layer.
- Let the brittle cool completely, about 30–45 minutes.
- Break the cooled brittle into pieces.