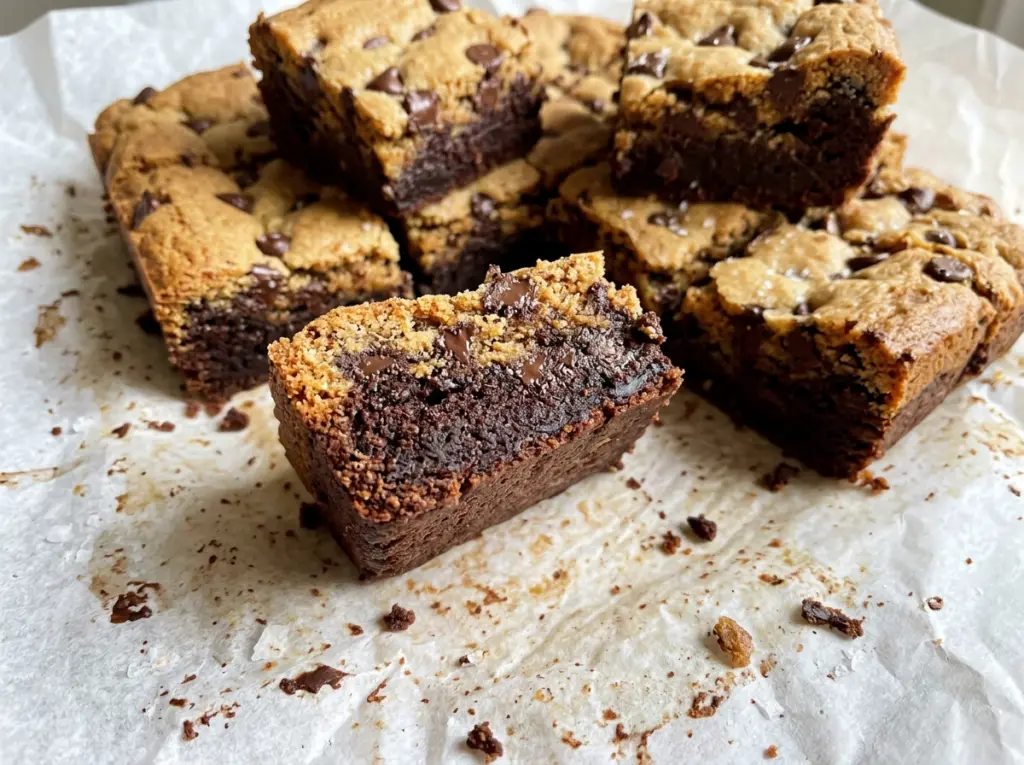
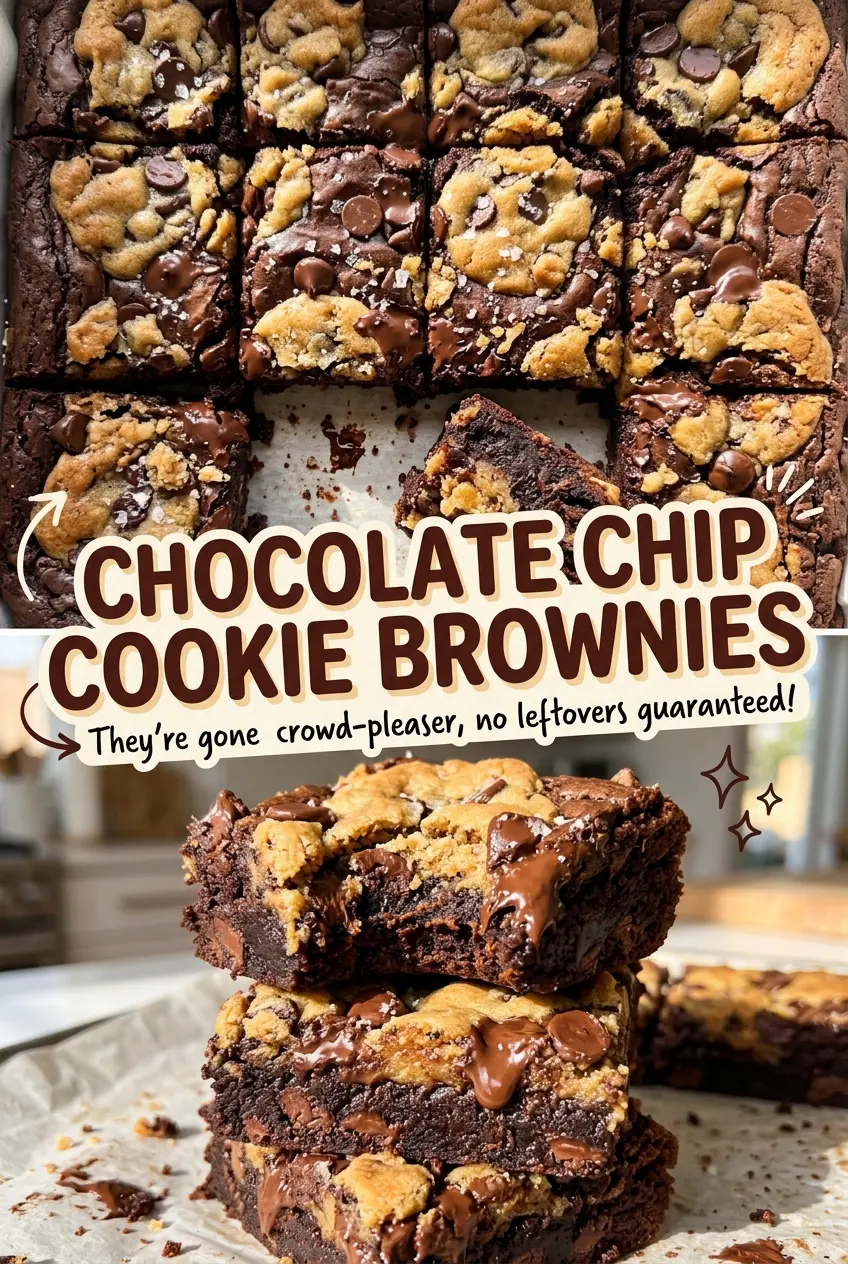
The brownie batter spreads into a smooth, dark base, and the cookie dough sits on top in little golden islands. That contrast is what makes each square feel like two treats at once. I like that the brownie stays fudgy while the cookie layer gives you crisp edges and chocolate chips in every bite.
These chocolate chip cookie brownies are all about keeping the layers distinct. The brownie batter goes into the pan first, then tablespoon-size portions of cookie dough land across the top with small gaps between them. Those openings matter later: they give you a clear spot to check whether the brownie underneath has baked through. Once cooled, the squares cut into neat layers with a soft brownie bottom and a golden cookie top.
Kitchen Note
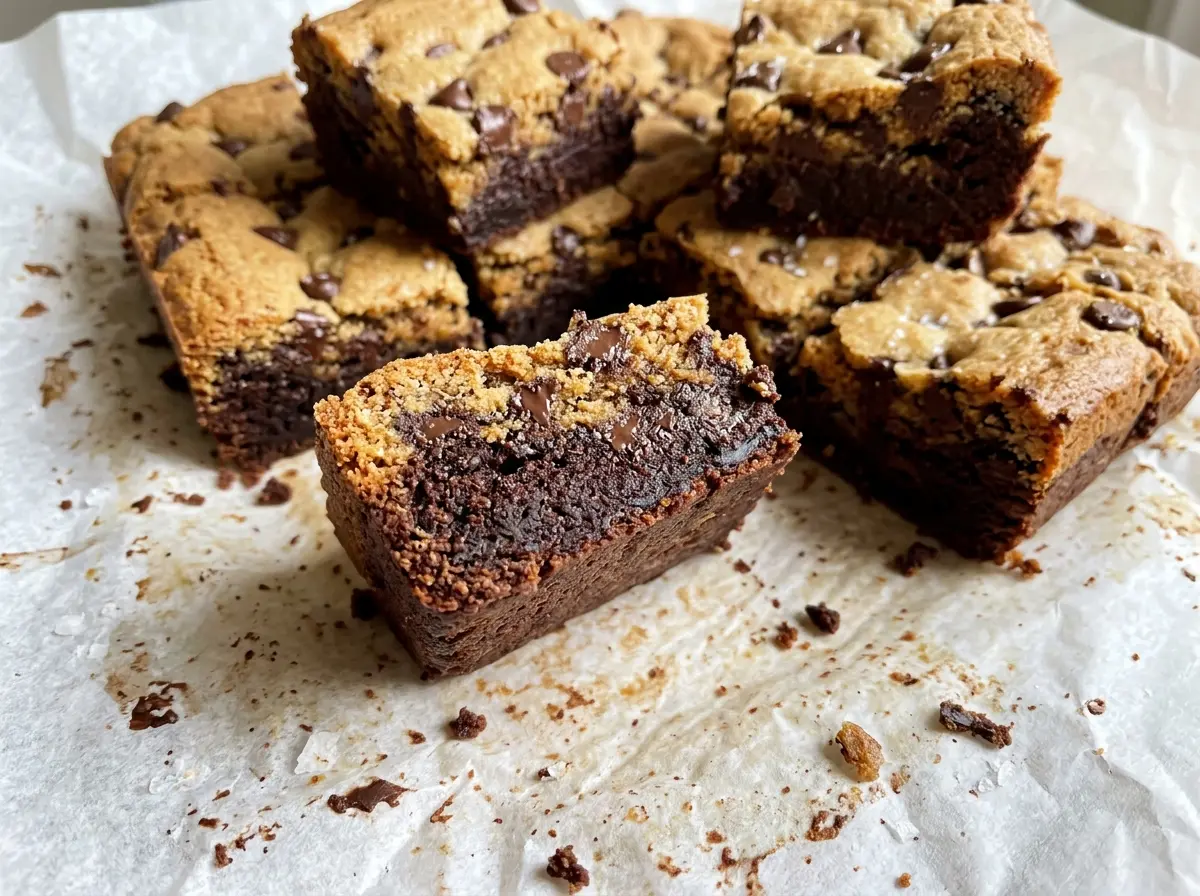
Give the pan the full cooling time before cutting. The brownie layer is still soft when it first comes out, and the two layers settle into clean, sturdy squares as they cool.
Save these chocolate chip cookie brownies for the next time you want a fudgy brownie and a golden chocolate chip cookie in the same square.
Why the Brownie-Gap Toothpick Test Beats Judging by the Cookie Tops
The cookie dough sits on the surface, so its color tells you about the cookie portion, not the brownie underneath. The edges of the cookie portions should turn golden, but the brownie layer still needs its own doneness check. That’s why I leave little gaps between dough portions instead of covering the batter completely.
Slide a toothpick into one of those brownie gaps. Moist crumbs are what you want; wet batter means the center needs more time. A clean toothpick isn’t the target here, because it can mean the brownie has baked past that soft, fudgy texture. If the cookie edges are already golden while the toothpick shows wet batter, keep baking and check again rather than pulling the pan early.
Those small openings do a second useful job: they let you see the brownie surface and reach it with the toothpick without piercing a chocolate chip or cookie portion. Take the reading from the brownie itself, and use both cues together—the browned cookie edges and the moist crumbs in the brownie gap—to decide when the pan is ready.
Why the Two Layers Need Different Butter and Sugar
- Butter — The brownie layer starts with melted butter, while the cookie layer needs softened butter that can cream with the sugars. Those textures suit each batter; swapping them between layers changes how each one comes together. Unsalted butter keeps the salt level predictable, and there’s no need to buy a specialty brand.
- Granulated and brown sugars — Granulated sugar sweetens both layers, while packed light brown sugar gives the cookie portion its softer, chewier character. Keep the brown sugar packed when measuring so the cookie dough has consistent moisture. Dark brown sugar works in its place, with a deeper molasses flavor.
- Unsweetened cocoa powder — Use unsweetened cocoa rather than a sweetened hot cocoa mix; the latter adds sugar and other ingredients that change the brownie batter. A fresh, fragrant cocoa makes the chocolate base taste fuller, but an everyday grocery-store cocoa works well.
- All-purpose flour — Flour gives each layer its shape, but it behaves differently in brownie batter and cookie dough, so mix it in only until the dry streaks disappear. For a gluten-free batch, use a cup-for-cup gluten-free baking blend in both layers; a blend made for baking gives a more reliable texture than a single alternative flour.
- Baking soda and semisweet chips — Baking soda gives the cookie layer its lift, so don’t replace it with baking powder. Semisweet chips balance the sweeter dough and brownie base; choose a brand you enjoy eating, since the chips stay in distinct pockets rather than disappearing into the batter.
How to Layer the Batters Without Losing the Fudgy Brownie Base
Prepare the 9×13-Inch Pan
Heat the oven to 350°F and grease a 9×13-inch baking pan with nonstick cooking spray. Grease the corners as well as the base so the bars release more easily after cooling. Set the pan aside while you mix the two batters, and keep it level when you spread the brownie layer.
Whisk a Smooth Brownie Batter
Whisk the melted butter and granulated sugar together in a medium bowl until combined. Whisk in the eggs and vanilla extract until the mixture looks smooth. Stir in the cocoa powder, flour, and salt just until no dry streaks remain; continuing to stir after that point can make the brownie layer less tender. Spread the batter evenly across the pan.
Cream the Cookie Dough
In a large bowl, beat the softened butter with the brown and granulated sugars until creamy, about 2 minutes. Beat in the egg and vanilla extract until combined. Mix in the flour, baking soda, and salt just until the flour disappears, then fold in the semisweet chocolate chips. If dry flour is still visible, finish with a few gentle turns rather than beating the dough for longer.
Dot the Top and Bake to Two Cues
Drop the cookie dough in tablespoon-size portions over the brownie batter, leaving small gaps between portions. Bake for 35 to 42 minutes, watching for golden edges on the cookie portions. Check a brownie gap with a toothpick: moist crumbs are fine, but wet batter means the center needs more oven time. Cool the pan completely, about 2 hours, before cutting into squares.
Two Smart Ways to Change These Cookie Brownies
Use Dark Chocolate Chips for a Less-Sweet Bite
Replace the semisweet chips with the same amount of dark chocolate chips. The pockets will taste more bittersweet against the sweet cookie dough, while the two-layer structure stays the same.
Make Both Layers Gluten-Free
Use a cup-for-cup gluten-free baking blend in place of the all-purpose flour in both batters. The bars may have a slightly more delicate or sandy crumb, so let them cool fully in the pan before slicing.
Storage and Reheating
- Refrigerator: Store the bars in an airtight container for up to 5 days. They’ll firm up when cold, so let them sit at room temperature briefly before serving.
- Freezer: Freeze cut squares in an airtight container, with parchment between layers, for up to 2 months. Thaw at room temperature.
- Reheating: Microwave an individual square for about 10 seconds to soften it slightly. Longer heating can make the cookie edge tough and the chocolate chips too hot.
Questions That Come Up When Baking These Two-Layer Bars
Chocolate Chip Cookie Brownies
Ingredients
Equipment
Method
- Heat the oven to 350°F and grease a 9x13-inch baking pan with nonstick cooking spray.
- Whisk the melted butter and granulated sugar in a medium bowl until combined.
- Whisk in the eggs and vanilla extract until smooth.
- Stir in the cocoa powder, flour, and salt just until no dry streaks remain, then spread the batter evenly in the prepared pan.
- Beat the softened butter, brown sugar, and granulated sugar in a large bowl until creamy, about 2 minutes.
- Beat in the egg and vanilla extract until combined.
- Mix in the flour, baking soda, and salt just until combined, then fold in the chocolate chips.
- Drop the cookie dough in tablespoon-size portions over the brownie batter, leaving small gaps between portions.
- Bake for 35 to 42 minutes, until the cookie portions are golden at the edges and a toothpick inserted into a brownie gap comes out with moist crumbs but no wet batter.
- Cool completely in the pan, about 2 hours, before cutting into squares.