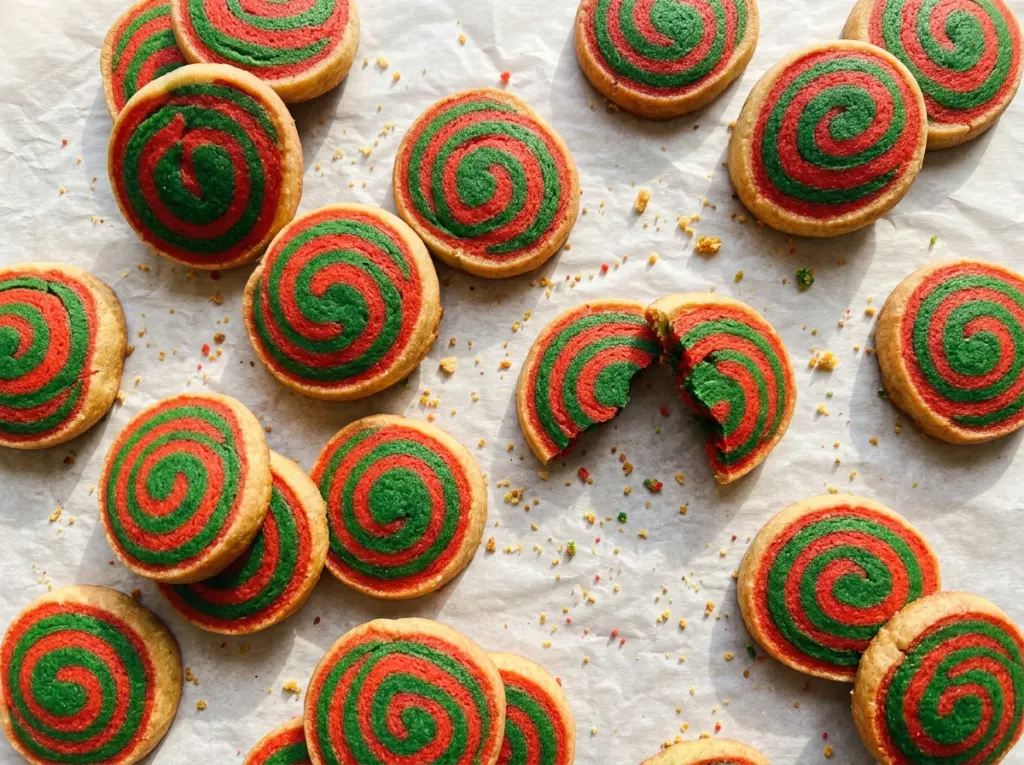
The first clue that pinwheel cookies are coming together is a smooth sheet of dough, not a perfect spiral. If one rectangle is thicker than the other, the color bands can look uneven once you roll and slice the log. I roll both halves to the same size, then give them just enough time in the refrigerator to firm up without turning brittle.
For these Christmas Pinwheel Cookies, gel coloring gives the dough a strong red and green without adding much extra moisture. The parchment does double duty: it keeps each rectangle easy to move, then helps guide the layers into a neat log. Once the chilled log is easy to slice, each round shows off those bright, tidy stripes.
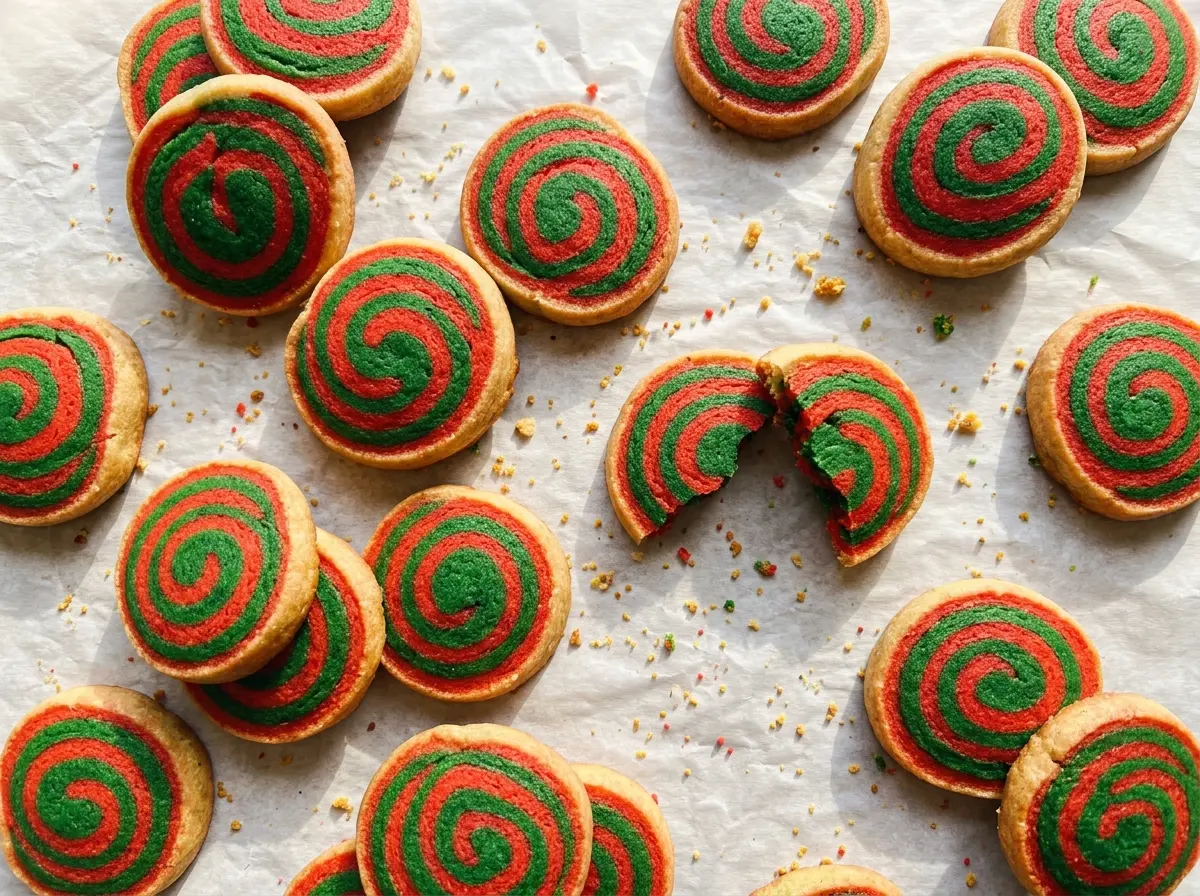
The cookies bake until set, with just a little golden color at the edges. They’re crisp enough to hold their shape, tender in the middle, and festive without needing frosting or extra decoration.
Kitchen Note
Let the cookies sit on the baking sheet for the full 5 minutes before moving them. They’re fragile straight from the oven, and that short rest lets them firm up enough to transfer without breaking.
Save these Christmas Pinwheel Cookies for a holiday baking day: the red-and-green spiral makes every slice look special.
Why the Dough Should Be Firm, Not Hard, Before You Roll It
The tricky part of a pinwheel isn’t making the spiral; it’s getting two soft dough sheets to behave like one clean layer. Dough that’s still warm and floppy can stretch as you move it, leaving thin spots or edges that don’t line up. Dough that’s too cold can crack when you try to roll it around the filling layer. The sweet spot is firm but still flexible, so each rectangle lifts cleanly and bends without splitting.
That texture depends on chilling the flat rectangles before stacking them. Rolling first also lets you see whether the dough is even from edge to edge, which matters more here than making the rectangles look perfect. Keep the sides aligned when you stack them, then roll from a 6-inch edge so the layers wrap around themselves into visible rings. If the finished log has a consistent thickness, the slices will show a more balanced spiral from the center out.
This is a good cookie to work at a steady pace rather than rush through. The refrigerator does the firming, while the parchment keeps the dough supported; you don’t need to dust the counter with extra flour or wrestle a soft sheet into place.
Why Butter, Flour, and Gel Color Matter in These Pinwheels

- Butter and sugar — Softened butter creams smoothly with the sugar and gives the cookies their tender bite. Let the butter soften until it yields when pressed but isn’t shiny or melted; melted butter won’t trap air the same way. If salted butter is what you have, use it and leave out the fine salt; the exact saltiness will vary by brand.
- Egg and vanilla — The egg binds the dough so it can be rolled into two flexible sheets, while vanilla rounds out the buttery flavor. Use a large egg at room temperature if possible, so it blends into the creamed butter without leaving cold streaks.
- All-purpose flour — This gives the dough enough structure to hold crisp color bands through rolling and slicing. Spoon flour into the measuring cup and level it rather than packing it down; too much flour makes the dough dry and more likely to crack.
- Baking powder — A small amount gives the cookies a little lift without puffing the spiral out of shape. Check that yours is fresh; old baking powder can leave the cookies flatter and denser.
- Red and green gel coloring — Gel is concentrated, so it colors the dough without thinning it as readily as liquid coloring. A little goes a long way, and kneading each color into its own dough half helps avoid streaks that look muddy after baking.
From Soft Dough to Clean, Defined Swirls
Cream the Butter and Sugar Until Fluffy
Beat the softened butter and sugar with an electric mixer on medium speed for 2 to 3 minutes. The mixture should look lighter in color and fluffy rather than like a dense paste. Beat in the egg and vanilla until they’re combined, scraping the bowl if butter is clinging to the sides. If the mixture looks a little uneven at first, keep mixing just until it comes together.
Bring the Dough Together and Color It Evenly
Whisk the flour, baking powder, and salt together in a separate bowl so the leavening is distributed throughout. Add the dry mixture to the butter mixture in two additions, mixing on low just until a soft dough forms. Divide the dough in half, then knead the red coloring into one portion and the green into the other. Stop once the color is even; extra kneading makes the dough less tender.
Roll, Stack, and Shape the Log
Between sheets of parchment, roll each half into a 6-by-12-inch rectangle about 1/4 inch thick. Keep the sheets flat in the refrigerator until they’re firm but still flexible, about 20 to 30 minutes. Remove the top parchment, stack the rectangles with their edges aligned, and start rolling from a 6-inch edge. Use the bottom parchment to guide the roll and keep the layers snug as you form the log.
Chill, Slice, and Bake in Batches
Wrap the log in parchment and refrigerate it until firm enough to slice, at least 1 hour. Heat the oven to 350°F and line two large baking sheets with parchment paper, then cut the log into 1/4-inch slices and space them about 2 inches apart. Keep the remaining slices chilled while one sheet bakes at a time for 10 to 12 minutes. The cookies are ready when they’re set and the edges are just beginning to turn golden; cool them on the sheet before transferring them to a wire rack.
Easy Ways to Change the Look or Adapt the Dough
Make Red-and-Plain Pinwheels
For a simpler two-tone look, knead the red gel into one half and leave the other half uncolored instead of using the green gel. The pale dough makes a clear contrast with the red, though the finished cookies won’t have the classic red-and-green holiday bands.
Use a Measure-for-Measure Gluten-Free Flour Blend
Replace the all-purpose flour with a measure-for-measure gluten-free baking blend that includes xanthan gum. The dough may feel a little more delicate when you roll and stack it, and the cookies can have a slightly more tender texture, so handle the parchment-supported sheets gently.
Storage and Reheating
- Refrigerator: Store the completely cooled cookies in an airtight container for up to 1 week. They’ll firm up when cold, so let them come back to room temperature before serving.
- Freezer: Freeze cooled cookies in an airtight container with parchment between layers for up to 2 months. Thaw at room temperature while still covered to keep condensation off the cookies.
- Reheating: These cookies don’t need reheating. If you’d like them warm, use a 300°F oven for about 3 minutes; avoid the microwave, which can soften them unevenly.
Questions That Come Up While Making Christmas Pinwheels
Christmas Pinwheel Cookies
Ingredients
Equipment
Method
- In a large bowl, beat the butter and sugar with an electric mixer on medium speed until light and fluffy, 2 to 3 minutes.
- Beat in the egg and vanilla until combined.
- In a medium bowl, whisk together the flour, baking powder, and salt.
- Add the dry ingredients to the butter mixture in two additions, mixing on low just until a soft dough forms.
- Divide the dough in half.
- Knead the red coloring into one half until the color is even.
- Knead the green coloring into the other half until the color is even.
- Roll each dough half between sheets of parchment into a 6x12-inch rectangle about 1/4 inch thick.
- Keep the rectangles flat and refrigerate until firm but still flexible, 20 to 30 minutes.
- Remove the top parchment from both rectangles and stack them with their edges aligned.
- Starting at a 6-inch edge, roll the layers tightly into a log, using the bottom parchment to help guide the roll.
- Wrap the log in parchment and refrigerate until firm enough to slice, at least 1 hour.
- Heat the oven to 350°F.
- Line two large baking sheets with parchment paper.
- Cut the log into 1/4-inch slices.
- Arrange the slices about 2 inches apart on the prepared sheets, keeping the remaining slices chilled.
- Bake one sheet at a time for 10 to 12 minutes, until the cookies are set and the edges are just beginning to turn golden.
- Let the cookies cool on the baking sheet for 5 minutes.
- Transfer the cookies to a wire rack to cool completely.